Hi all! For my project this month I decided to concentrate on summertime table settings. With spring in the air and my husband readying the back yard pond and fountains and patio for guests, I wanted to create some fun new napkin rings. So out came my Amazing Mold Putty and Amazing Casting Resin (links below).


To start, I had to search for something to use as a base. I chose the cardboard center of a (or spool) of a roll of ribbon. Then, to give it some texture and depth I used my glue gun to add some stings of glue all over it.

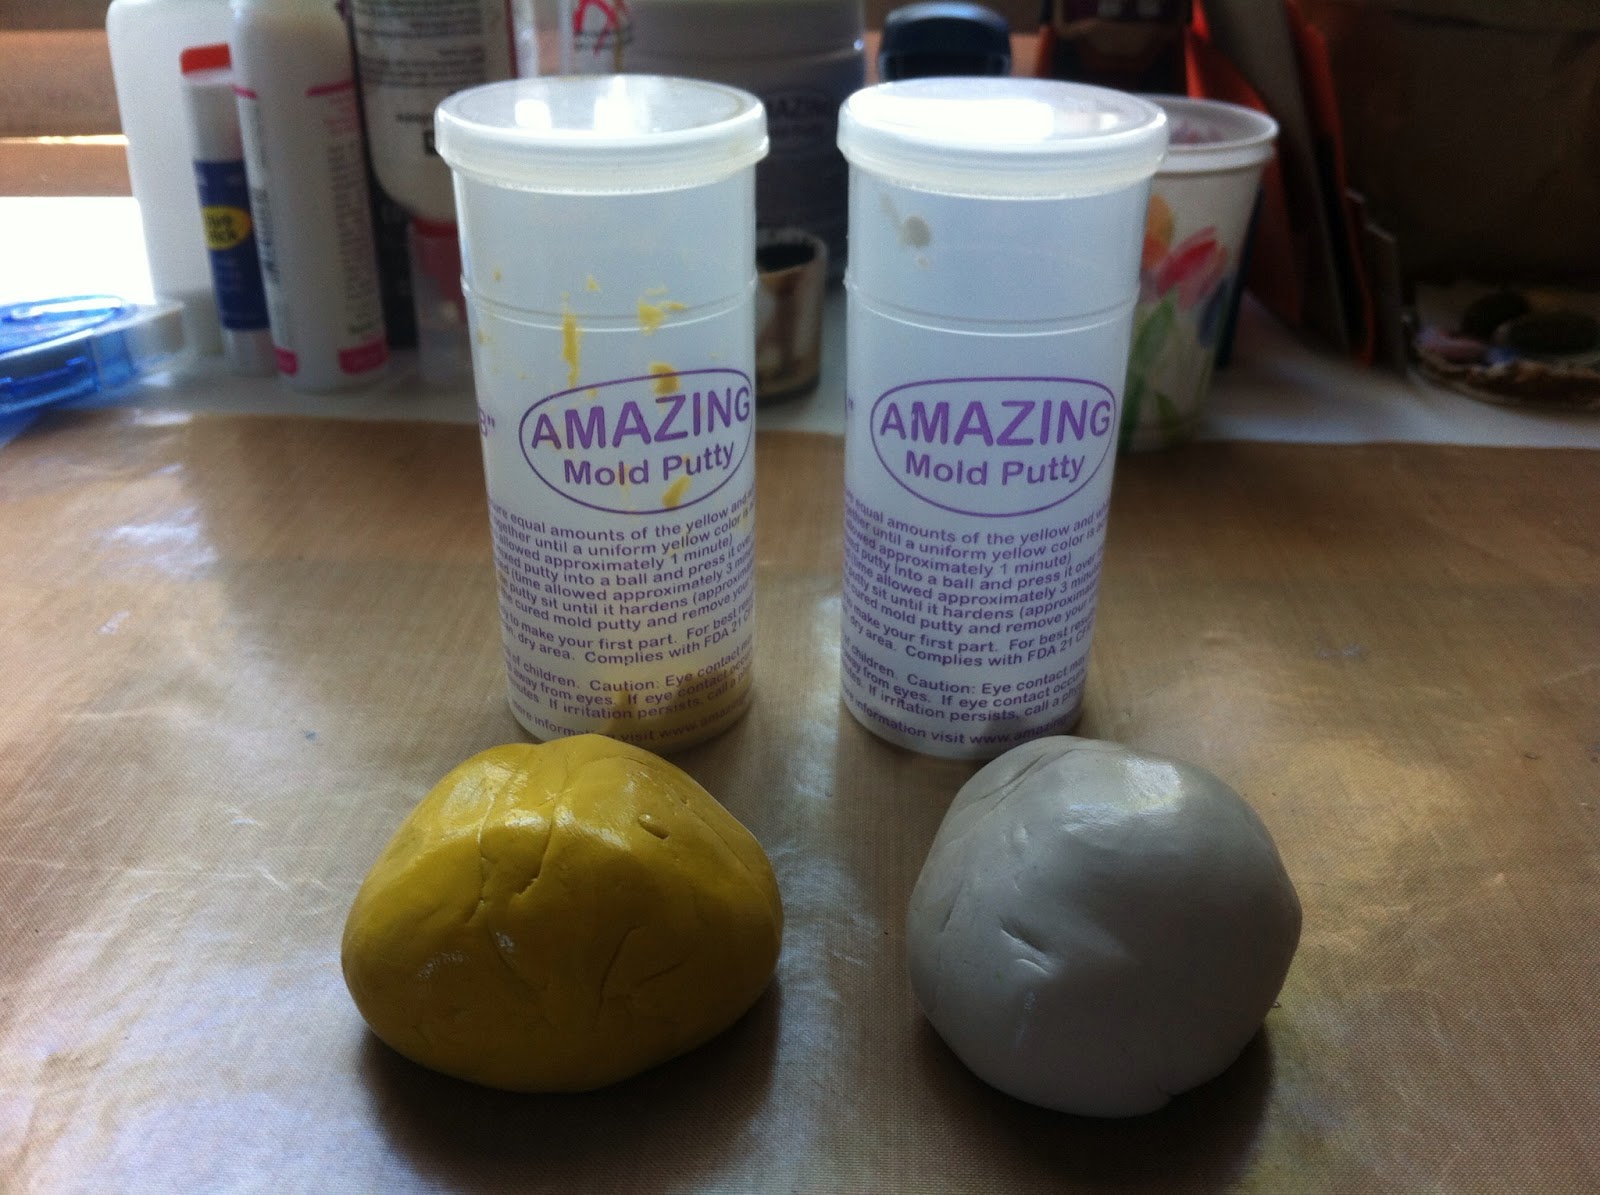
Next I mixed my Amazing Mold Putty part "A" and part "B" in equal parts (see website via the link for detailed instructions).
Next, I made molds of this and some other items to use on my napkin ring.


Once my putty was set (about 10 minutes - or when you can scrape the side with your fingernail and it doesn't come off). The detail I was able to get in my mold was really quite amazing. With all of the mold I've created, I still wasn't sure this would work, but just look at the next picture to see how detailed you can actually get with your putty.

Is this cool or what!?
Next I used my Amazing Casting Resin to mold my pieces.

Now, I'm not gonna lie, the ring itself took a little work to get out, but it was totally worth it. Once I popped the pieces out I glued them together and then painted them solid black.


I went over the black with a blue green color, then a seafoam green. I finished it off with some antique gold rub.


What do you think? I love how this looks like some high end metal napkin ring that I might have bought in downtown Laguna Beach; but really I made it lickety split in my craft room. Now I just need to make 7 more! Thanks for stopping by and checking out my project. Please leave me a comment and let me know what you think. Don't forget to hop over to the Amazing Mold Putty website and check out their truly Amazing products!
~ Make Today Count
Wendy
No comments:
Post a Comment